
A bumpy, uneven yard is more than just an eyesore. It’s a minefield of trip hazards and can even lead to serious foundation problems for your home. Taking the time to level your yard creates a stable, beautiful outdoor space and prevents costly future repairs. While you can always hire a pro, tackling smaller leveling projects yourself is totally doable. Here’s everything you need to know about how to level your yard by hand.
What Is Yard Leveling?
Yard leveling is the process of reshaping the ground in your outdoor space to create a smooth, even surface. It’s all about creating a uniform grade across your property.
This job involves digging out high spots, filling in low areas with new soil, and smoothing everything out. People often level their yards to fix uneven ground that causes water to pool, gets in the way of landscaping projects, or just makes the area difficult and unsafe to use.
Depending on the size of your yard and the scale of the problem, leveling can be done manually with basic hand tools or with heavy machinery like bulldozers and graders.
Why Level A Yard?
No matter the reason for your lumpy lawn, it’s an issue that needs fixing. A yard full of bumps and dips is not only a hassle to enjoy but can also lead to bigger headaches like standing water.
Here are the key reasons to get your yard level.
1. Improve Drainage
Low spots in an uneven yard are a recipe for drainage disasters and water pooling. This standing water can cause a host of problems, including mold, dead grass, mosquito infestations, and constant mud pits. Leveling your lawn properly ensures that rainwater flows away as it should, preventing these issues.
2. Better Aesthetics
A beautiful lawn is an invitation to get outside, whether you’re playing with the kids or just kicking back and relaxing. A perfectly level yard looks neat, well-maintained, and incredibly tidy. It’s an instant boost to your home’s curb appeal, making the entire property feel more welcoming.
3. Enhanced Safety
Uneven terrain is a major tripping hazard, creating a dangerous environment, especially for young children and older adults. By leveling your yard, you make the space much safer for everyone to walk and play on.
4. Gardening and Landscaping
If your lawn is uneven, your plants, flowers, and ground cover will struggle. Irregular water drainage creates puddles that can harm or kill your vegetation. Erosion can also become a problem, stripping soil away and leaving some spots barren. Plus, if you plan to install features like a patio or a swimming pool, a level foundation is an absolute must.
5. It Makes Lawn Care Easier
Trying to mow a bumpy lawn is a frustrating chore. Piloting a lawnmower over uneven ground results in a choppy, inconsistent cut. You risk scalping the high spots and missing the low ones entirely. A level yard, on the other hand, is not only attractive but also significantly easier to maintain, helping your grass grow in thick and even.
6. Prevent Water Damage
When water pools near structures, it can cause significant damage. Standing water can lead to corrosion, wood rot, mold growth, and can even flood your basement, leading to expensive and stressful repairs.
Can You Level A Yard Yourself?
Yes, you can absolutely level your yard as a DIY project, provided you have the right tools and a bit of experience. Just be prepared for what can be a challenging and time-consuming job, especially if you’re working with a large area or significant changes in grade.
If you’re dealing with a drop of more than two feet, it’s probably best to call in a professional landscaper. Otherwise, you can level your yard by hand using simple tools like shovels and rakes, or you can rent heavy machinery like a backhoe for bigger jobs.
How to Level a Yard: Step-By-Step
If you’re ready to get your yard in shape, just follow these steps.
Step 1. Assess Your Yard
First, take a walk around your yard to identify all the uneven areas. Pinpoint every dip, bump, and slope. This initial survey will help you understand where to concentrate your efforts.
Step 2. Gather Your Materials
You’ll need a few essential tools to get the job done. Make sure you have a shovel, a sturdy rake, a wheelbarrow, and a tamper. You will also likely need extra topsoil, sand, or gravel to fill in the low spots.
Step 3. Remove Debris
Before you start digging, clear the entire area of any rocks, branches, or other debris. This gives you a clean slate to work with and helps prevent any damage to your tools.
Step 4. Mow and Dethatch Your Lawn
Cut your grass short, but be careful not to scalp it and expose the stems, which could kill the turf. Once mowed, check for any thatch buildup and remove it with a rake.
Step 5. Identify The Problem Areas
Walk through your yard again, this time using a long level or a string line stretched between stakes to precisely identify the high and low spots that need correcting.
Step 6. Remove the Grass in The Low Spots
Carefully dig up the grass covering the low spots on your lawn. Use a shovel to dig about two to three inches under the soil to ensure you get the entire root system. Set this sod aside to replant later.
Step 7. Remove High Spots
Now, tackle the high spots. Use a shovel or a pickaxe to remove the excess soil, starting from the edges of the high area and working your way inward. Try to keep the excavation minimal, as you will need to fill these areas back in later.
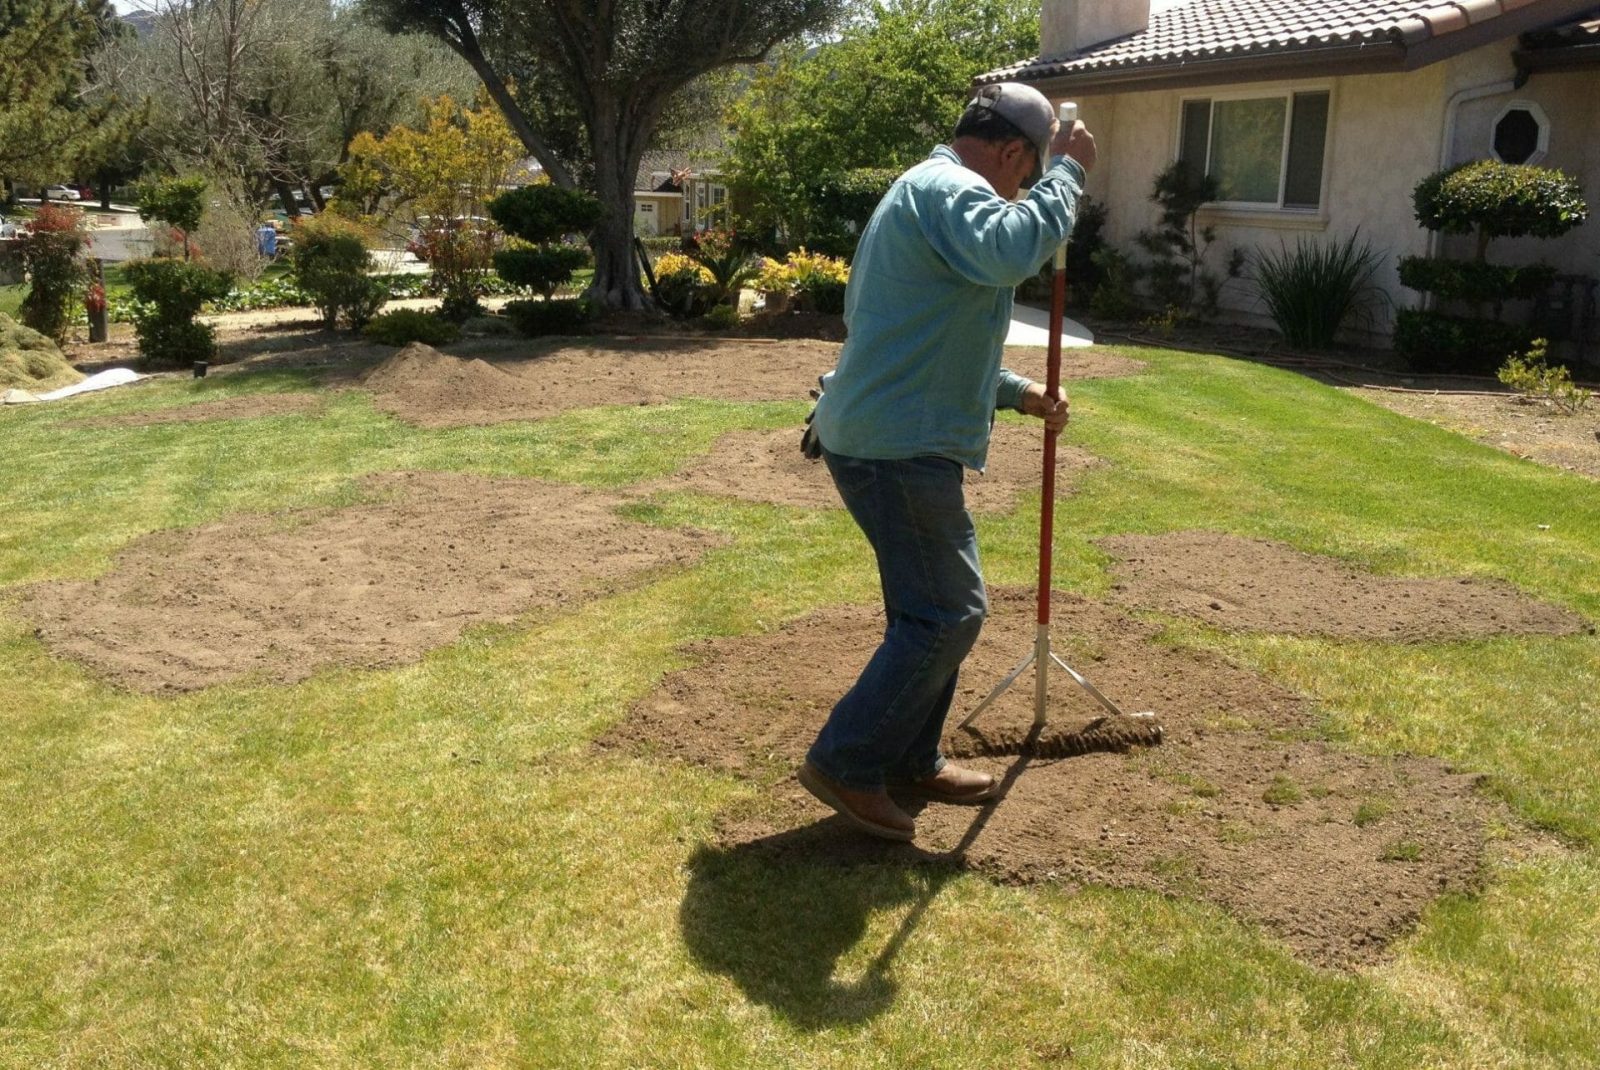
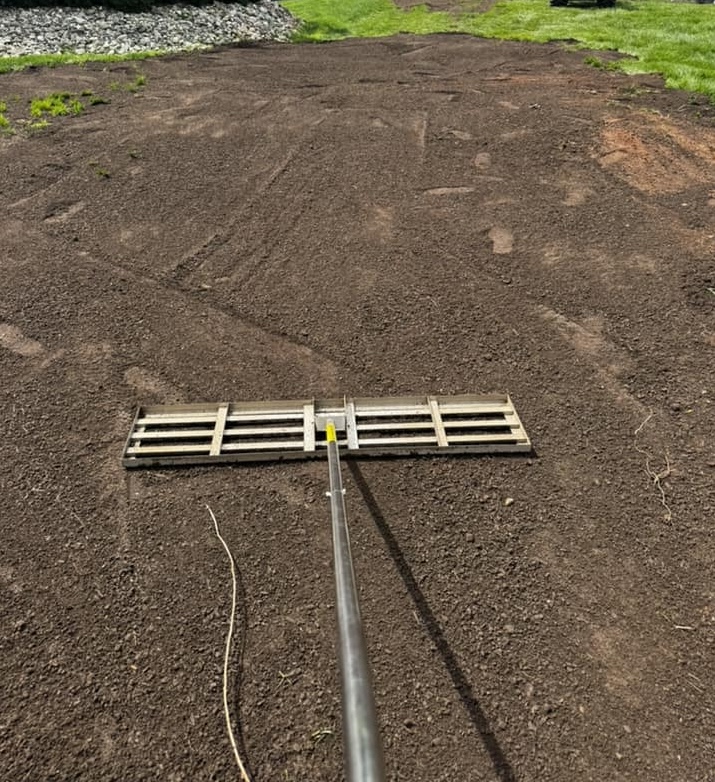
Step 8. Fill In Low Spots
Use your wheelbarrow to transport soil to the low spots. Fill them in, then use a rake to spread the soil evenly. Use a hand tamper to compact the soil firmly. Continue adding and compacting soil until the area is level with the surrounding ground.
Step 9. Recheck The Level
After you’ve filled in the low spots, use your level or string line one more time to make sure the ground is perfectly even. Make any final adjustments to the soil as needed.
Step 10. Install edging
To keep your newly leveled soil in place and prevent erosion, install an edging material like landscape timbers or bricks. Ensure the edging is level with the surrounding ground for a clean finish.
Step 11. Add Grass Seed
You have two options here. You can either put back the sod you carefully removed earlier or plant new grass seed. If you choose to seed, select a grass type that matches the rest of your lawn for a uniform look. Be sure to follow the instructions on the seed bag for the correct application rate.
Step 12. Water The Area
Watering is crucial for helping the new soil settle and encouraging grass growth. Apply a generous amount of water to the entire area, but avoid over-saturating it.
Step 13. Apply Topdressing If Necessary
After a few watering sessions, inspect the area for any signs of standing water or runoff. If your lawn still isn’t perfectly level, applying a layer of topdressing may be necessary to smooth out any remaining imperfections.
Final Remarks
With the right equipment, a solid plan, and a little know-how, leveling your yard is a very manageable project. It can even be a fun and satisfying task to complete over a weekend. Just remember that once your lawn is level, ongoing maintenance will be key to keeping it that way.